How to exchange the GU74b / 4CX800 tubes on your Alpha91b (Alpha99) Amplifier
It finally happened… After a decade of reliable service, my Alpha91b amplifier broke. Most likely on its way to Spain one of the tubes broke. During the commissioning at ED1R, fire & smoke shot out of a chimney. The first shock was big, but a few measurements confirmed that just the tubes were broken. In this blog post, I will share the knowledge I gained during debugging, commissioning, and breathing new life into the amplifier.
Disclaimer & WARNING
WARNING! Do not perform ANY work on your amplifier if you are not exactly sure what you are doing. The amplifier is using high voltages up to 3000V which is LETHAL. Touching the wrong part inside the amp can KILL YOU. Again if you are not sure, contact RF-concepts or your local dealer. Perform everything which is written here under your responsibility. It has worked for me, it might work for you, but it might also not work for you. This article claims no professional advice.
AGAIN: With the slightest doubts, please don’t experiment with high voltages. Look for the professional help from your next dealer.
The broken amplifier
While I couldn’t figure out the root cause of the tube’s failure, the symptoms were quite obvious.
The most likely theory is that one of the tubes was damaged during the shipment. The broken tube then caused the remaining good tube to overheat and finally burn out during the commissioning tests.
During the commissioning, I noted three strange behaviors of the Alpha91b (across all bands):
- The tuning peak became extremely sharp; slight readjustments of tune/load would cause the amp to go into error-modus
- The tuning meter wasn’t useable; Tuning had to be performed with the max-output indicator; Once max output was reached, the tuning LED would always remain 3-4 LEDs right to the center.
- Max output was limited to approx. 1000 Watts
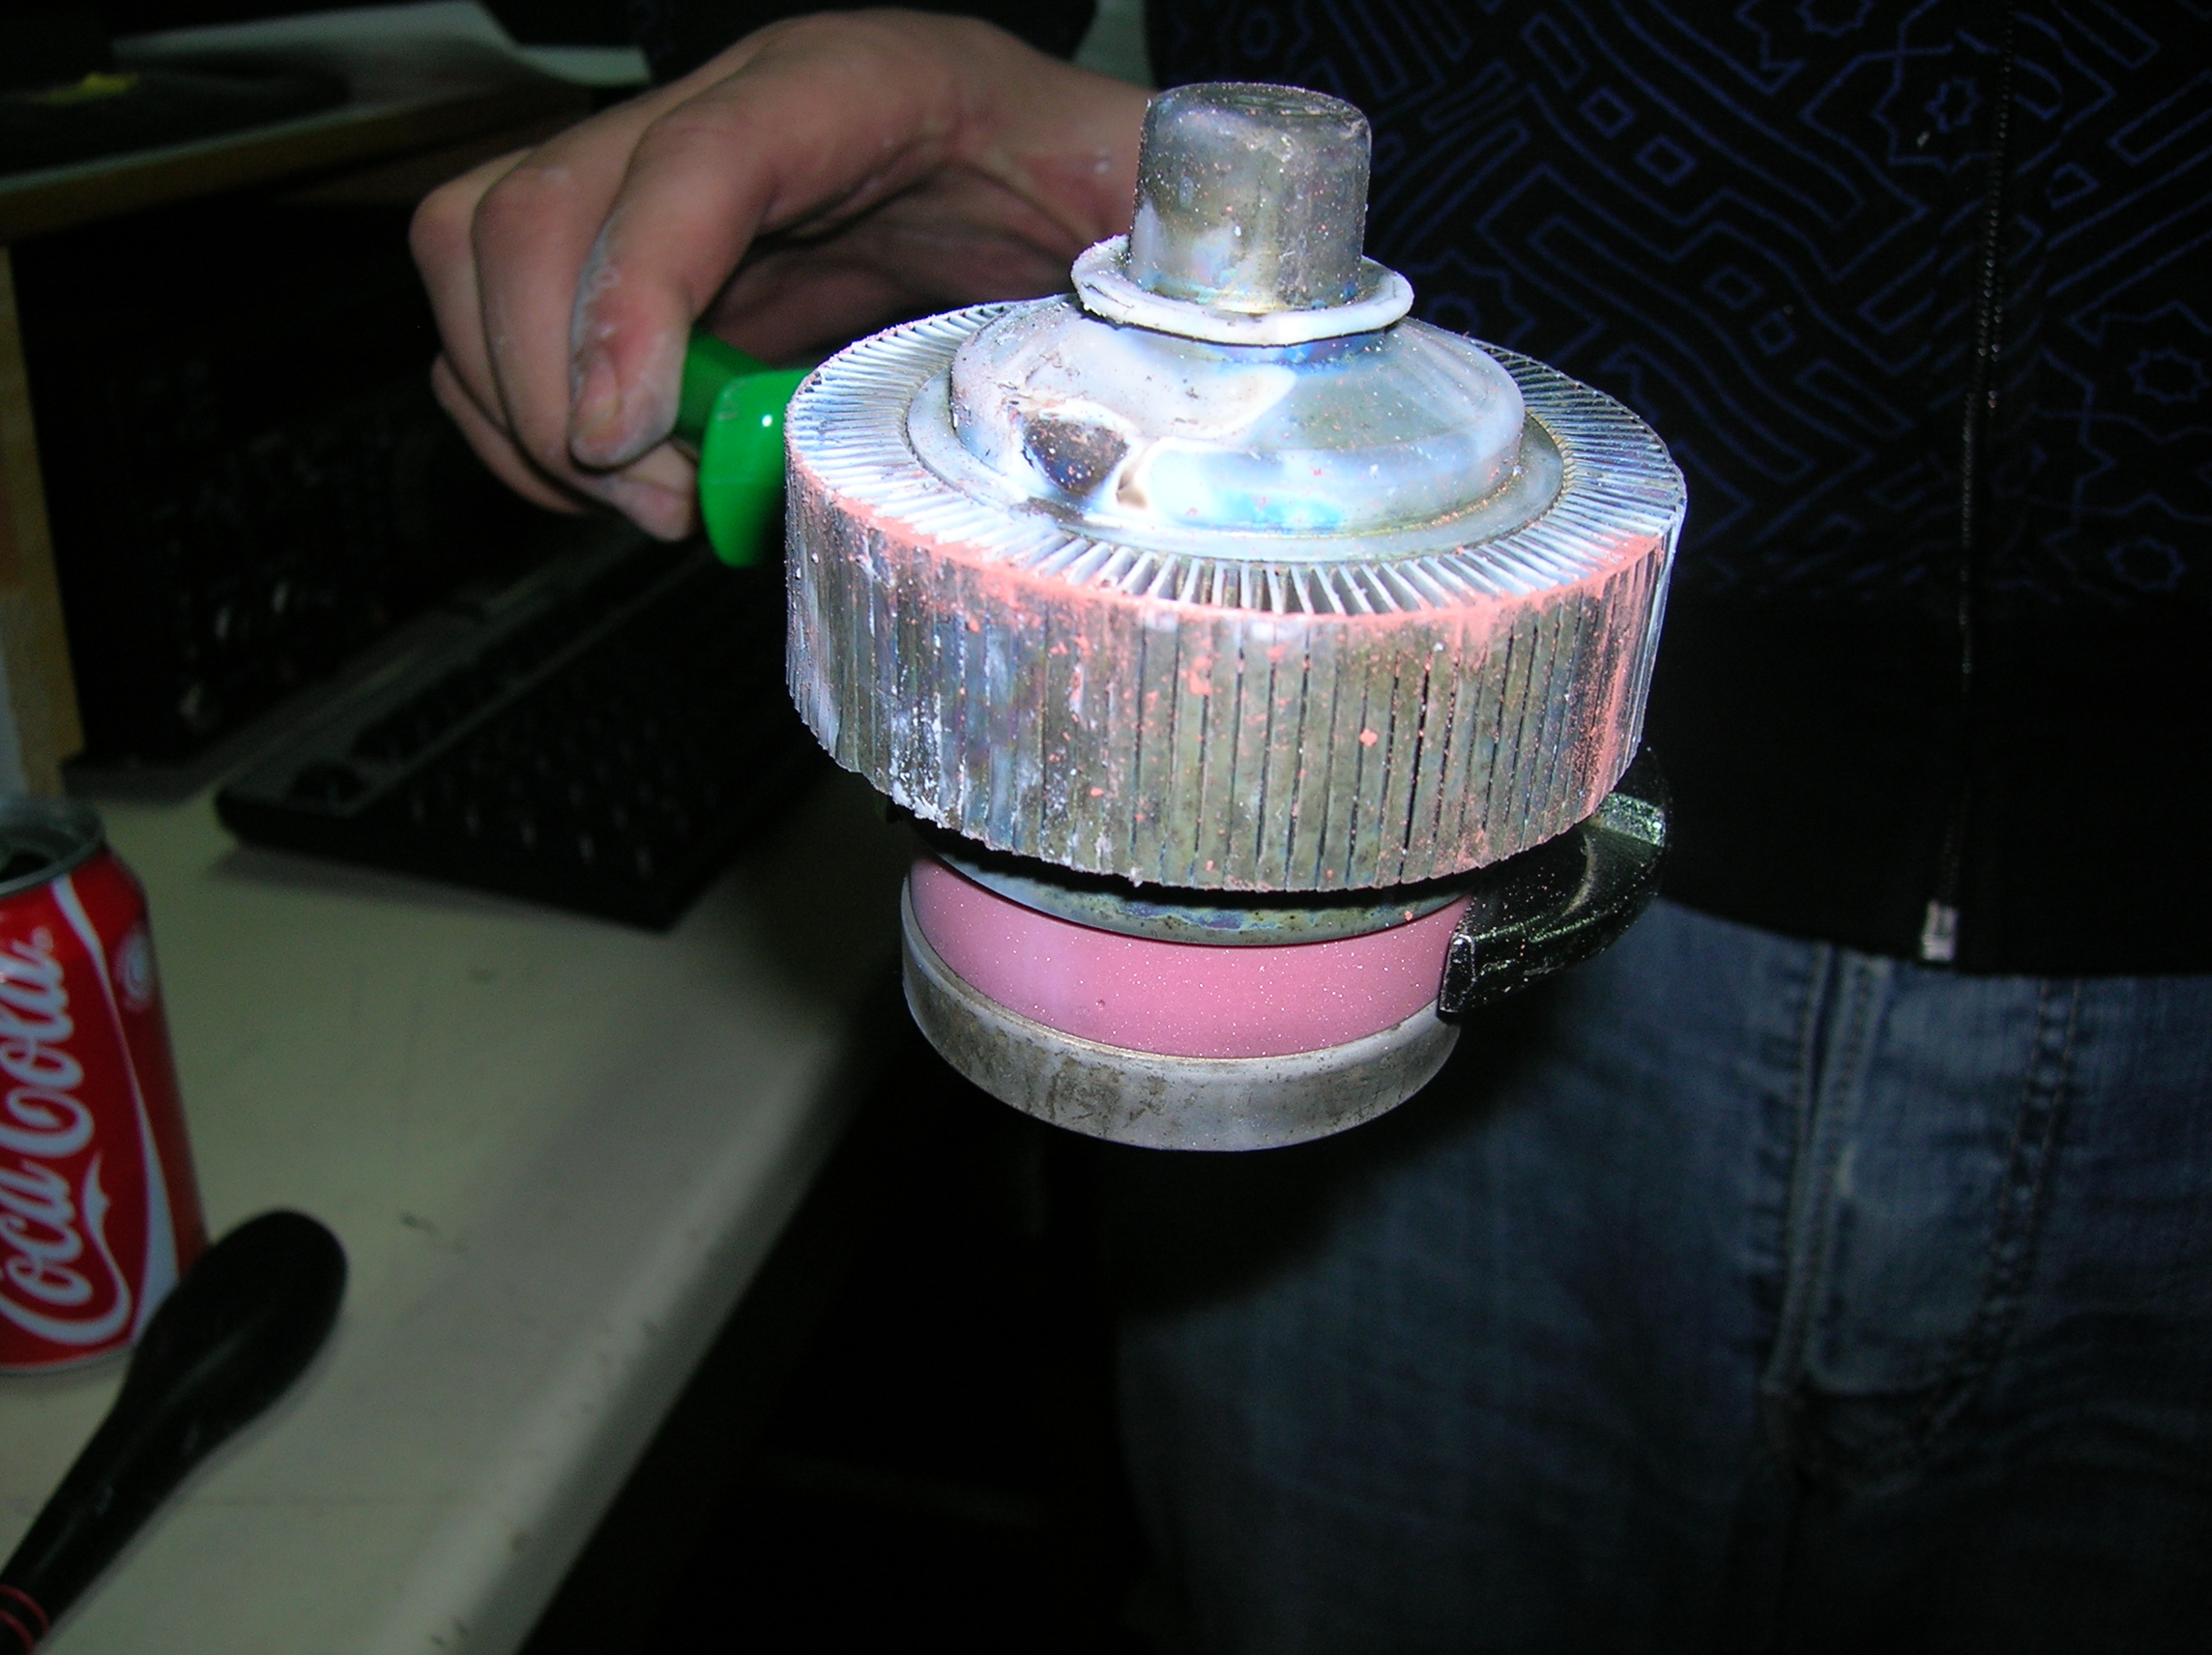
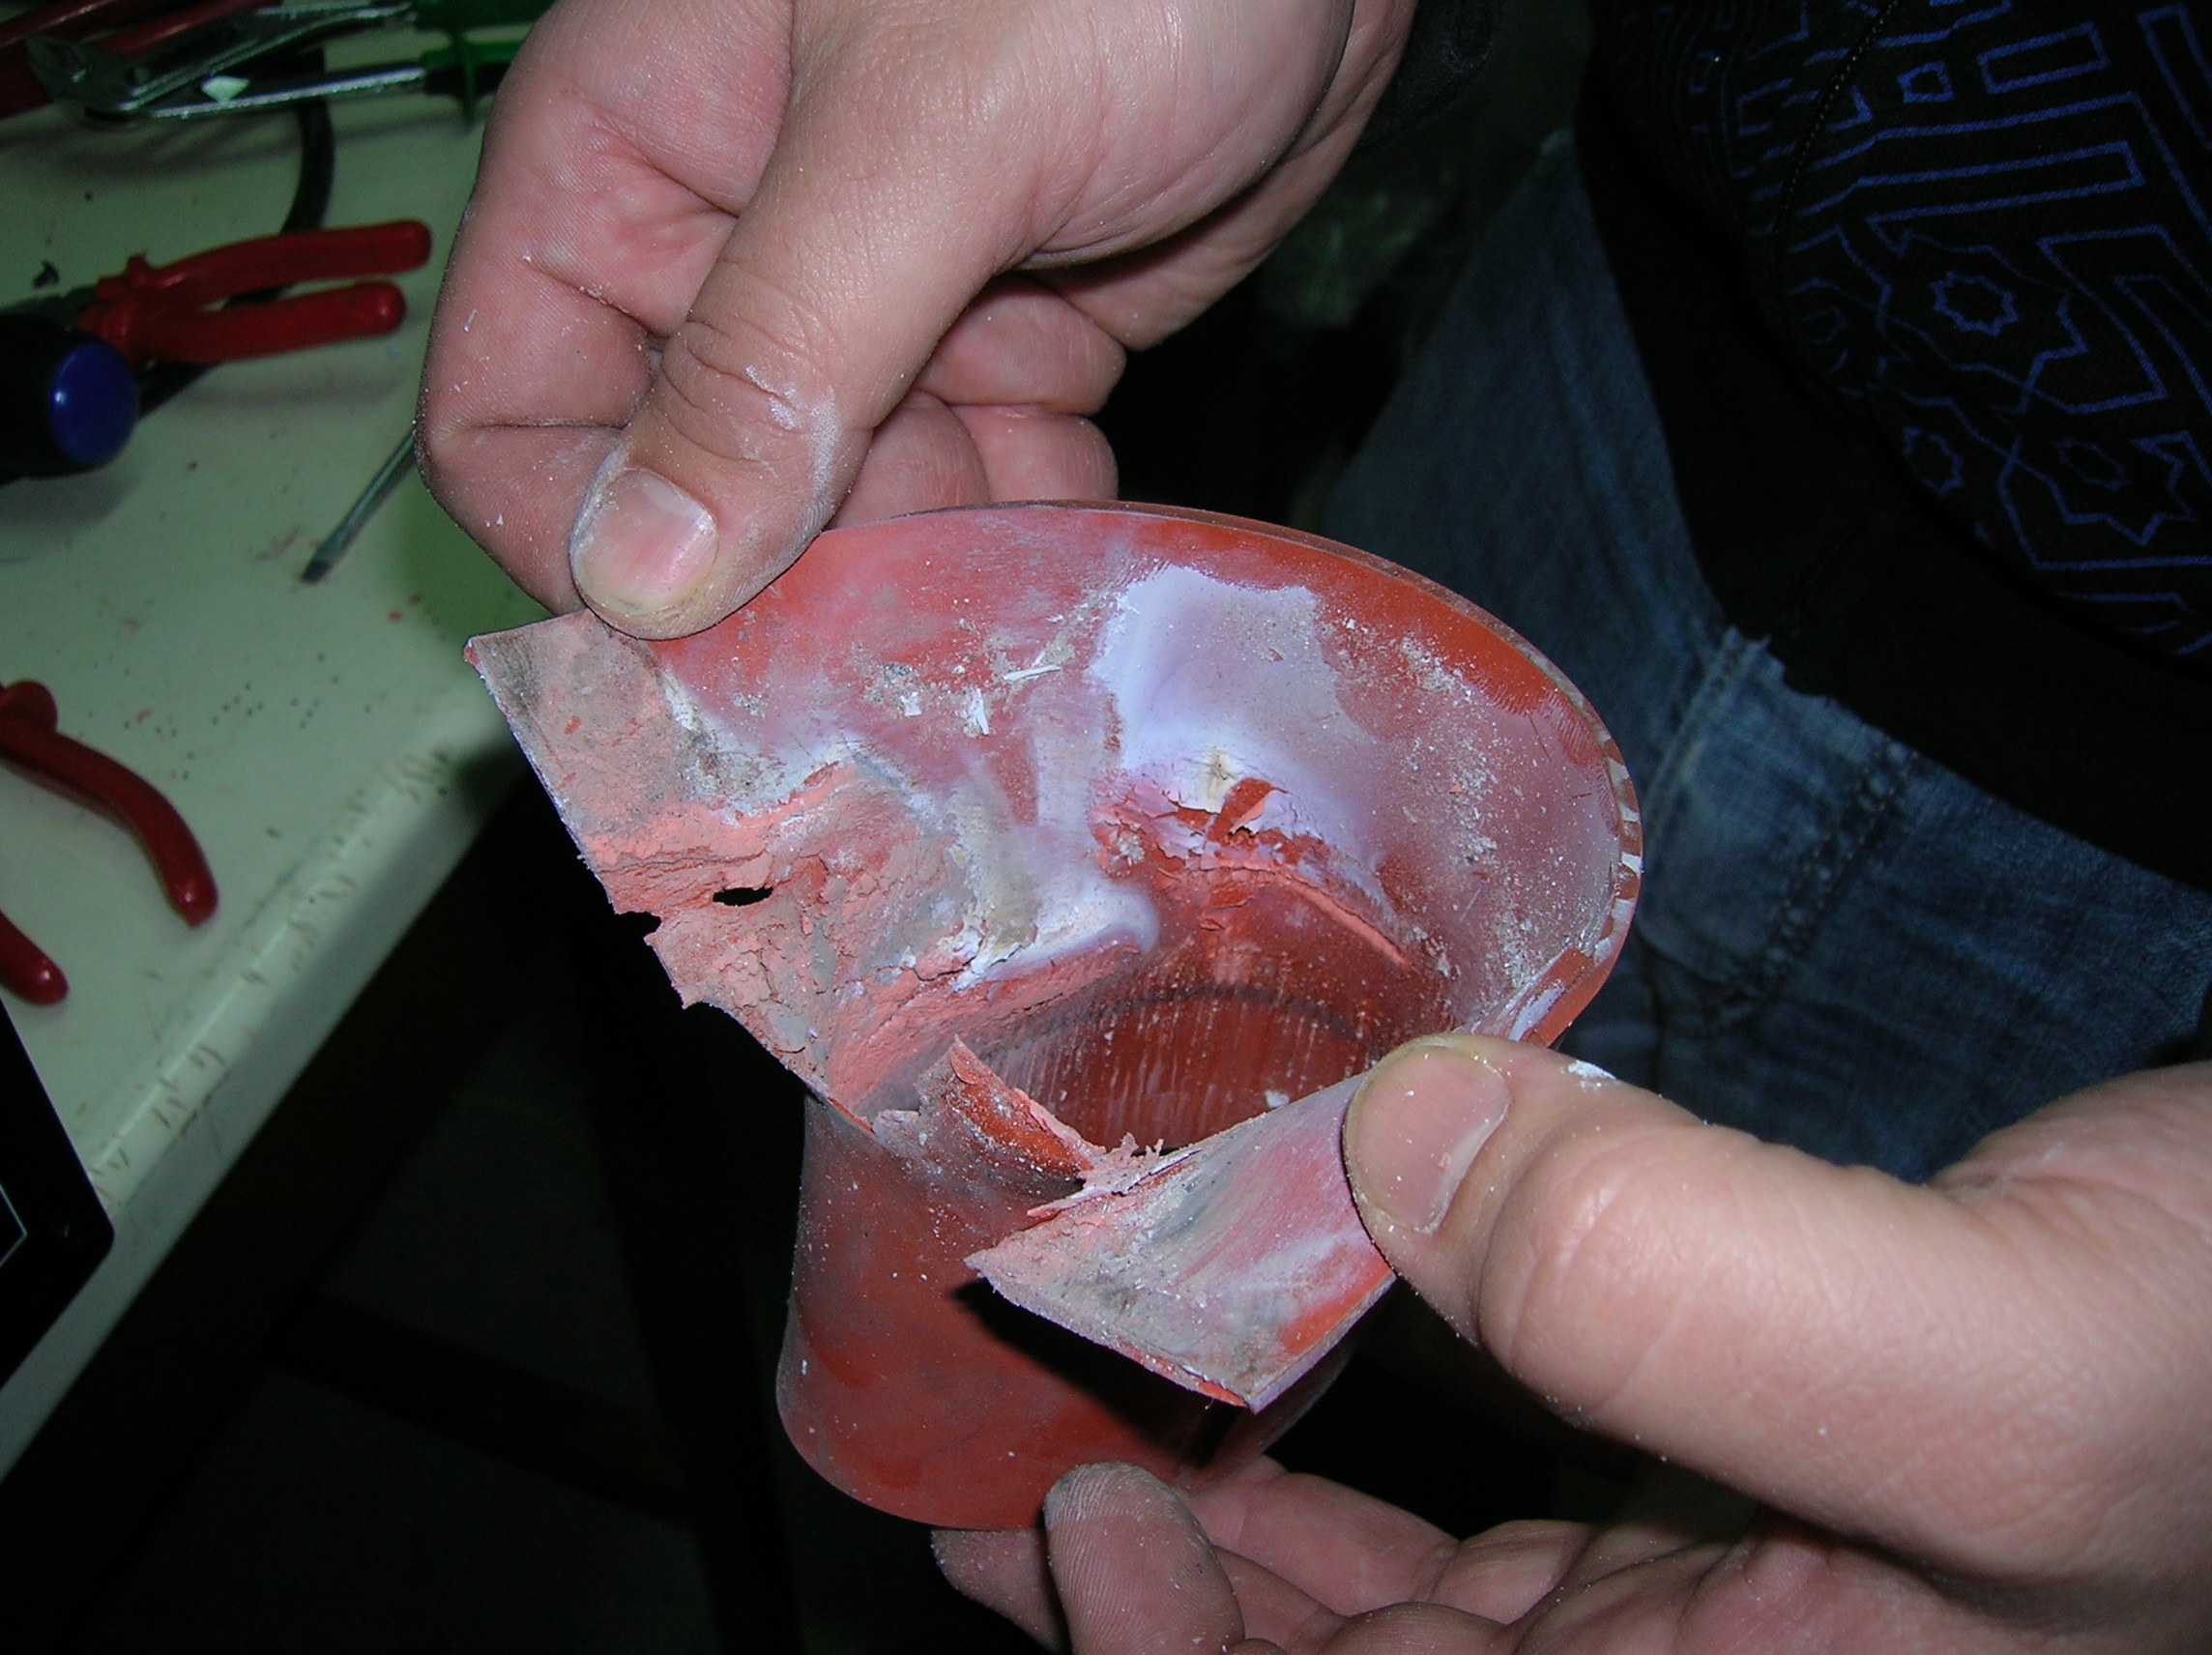
A few minutes into the testing, fire suddenly shot out of a chimney. The tube in question got so hot that it ignited the red, high-temperature silicon-rubber chimney. Even 30 minutes after removing the power, the tube was still not touchable by hand.
Here are some pictures:

Damage Assessment
The Alpha91b is an old-school amplifier with just a few Integrated Circuits and no Microcontrollers. The Schematic is quite simple and easy to understand. The Manual includes all schematics is available from RF-Concepts or other sources like DG1STG’s website. The Alpha91b is powered by a matched pair of GU74b / 4CX800 tubes. G8WRB has a great list of tube datasheets online available. Here is the datasheet for Svetlana’s 4CX800 / GU74b.
A careful visual inspection showed no other damage than the burnt chimney. Everything else (including the input network, which is accessible through a cover plate on the bottom of the amp) had no visible damage.
After a phone call with my friend and amplifier expert Tom, DJ5RE I decided to perform a couple of measurements/experiments:
Initial measurements
Conditions:
- Both tubes removed from the Alpha91b
- High Voltage connector physically disconnected from the power supply board
Measurements:
- Voltage of Grid 1 at the tube sockets
- Voltage of Grid 2 at the tube sockets
- Voltage of Grid 1 with PTT pressed
to see if the supply voltages were still ok.
Measurements proved that the supply voltages were working as expected and located within the operational boundaries.
- Grid 1: -125 V
- Grid 2: +350V
- Grid 1 (with PTT pressed): -77V
In the next step, I tried to get out some RF from the Amp.
Advanced tests
Conditions:
- Place the visually undamaged GU74b into the first socket and then repeat the test with the same tube in the other socket
- Apply high voltage
- Connect Dummy load
- Apply 5-10 Watts
Measurements:
- Output power of the Alpha91
Unfortunately, this test didn’t work at all and I couldn’t get out any power of the amplifier. I guess because the tube, which was visually ok, was broken.
Ordering a matched pair of GU74b / 4CX800
It is absolutely important to replace the tubes with a matched pair. Matched pair means that they have been selected as two tubes with equal parameters. Usually, a matched pair is a bit more expensive because the selection has to be done manually.
Today there is still no shortage of GU74b / 4CX800 tubes. Googling for these tubes brings up several webshops. Almost all are selling NOS (new old stock). These tubes have been manufactures decades ago, have been stored in Russian military depots without being used a single time. Since I needed the tubes on short notice (this happened just one week before CQWW CW) I considered buying from two sources:
I think both provide a good service. Especially Vinecom puts a lot of effort into testing tubes before shipment. But since Vinecom has run out of GU74bs just the day before I called, I bought the tubes from QRO-Shop.com. The owner, Ralf DL3JJ responded very fast and pre-heated both tubes the remaining 9 hours before they left his shop through express shipment the next day.
Gettering / Conditioning GU74b / 4CX800 tubes
Before using transmission tubes after a longer storage period (in my case almost 20 years), the tubes must be conditioned. This process is called Gettering.
Andrey, AE1S explains on his blog:
There is no such thing as a perfect seal! Vacuum tubes (especially high-power transmitting tubes) not used for a few years might exhibit serious problems if put into service without prior conditioning of the vacuum. With time, gas molecules leak inside or are released by the tube’s internal components. With years and years of storage, the vacuum could deteriorate and once the tube is used for the first time it could “flash-over” the gas molecules inside will become ionized by the electron flow and this will create a flash of high-temperature plasma between the cathode and anode, damaging the grid(s) and other internal components. A chemical composition, called “getter” is factory deposited inside the tube to maintain the quality of the vacuum - this is the shiny, metallic area on the inside wall of the glass envelope (in smaller tubes). In power tubes, the activation of the getter is done by heat. Therefore, it is recommended, before putting into service a power tube with a very long on-the-shelf life (more than a couple of years) to condition the vacuum first. This is done by applying power to the filament (cathode heater) only and leaving it on for a period of time. The hot filament will heat up the getter and also will improve the vacuum by itself (some gases will react with the hot tungsten filament and the cathode surface).
Wikipedia has also an entry about the Getter of tubes. This is no hocus-pocus, it is crucial to getter the tube before applying HV & power.
Other articles I found about gettering GU74bs / 4CX800s are here:
- VE1DX on conditioning a NOS GU74b tube for his ACOM1000
- SM5BSZ, SM6EYH, and ON4ADN on reconditioning tubes
Thanks to the help of my friend Ariel, CX5AO we found a way to condition the tubes within the Alpha91b. So here is the CX5AO way:
- Remove the high voltage connector from the Power Supply board
- Remove J1 and J3 from the Power Supply board and connect them as indicated in the picture.
J1 connects the support voltages (Grid1, Grid2, Heating) to the power supply board. Since the power supply board is nothing else than a simple jumper for the heating supply, the connectors can be rearranged so that no Grid voltages are connected to the power supply board. We don’t want to apply any other voltage than the heating voltage during the conditioning process.
NO HV, NO GRID1, and NO GRID2.
IMPORTANT: Make sure that you have done this correctly. Doing this wrong can damage your new tubes (and maybe even the whole amplifier!!!). Double-check it! Better: Tripple check it!
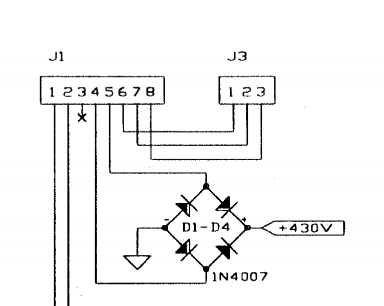
Schematic of Alpha91b power supply board (Heating is directly connecting to J3)
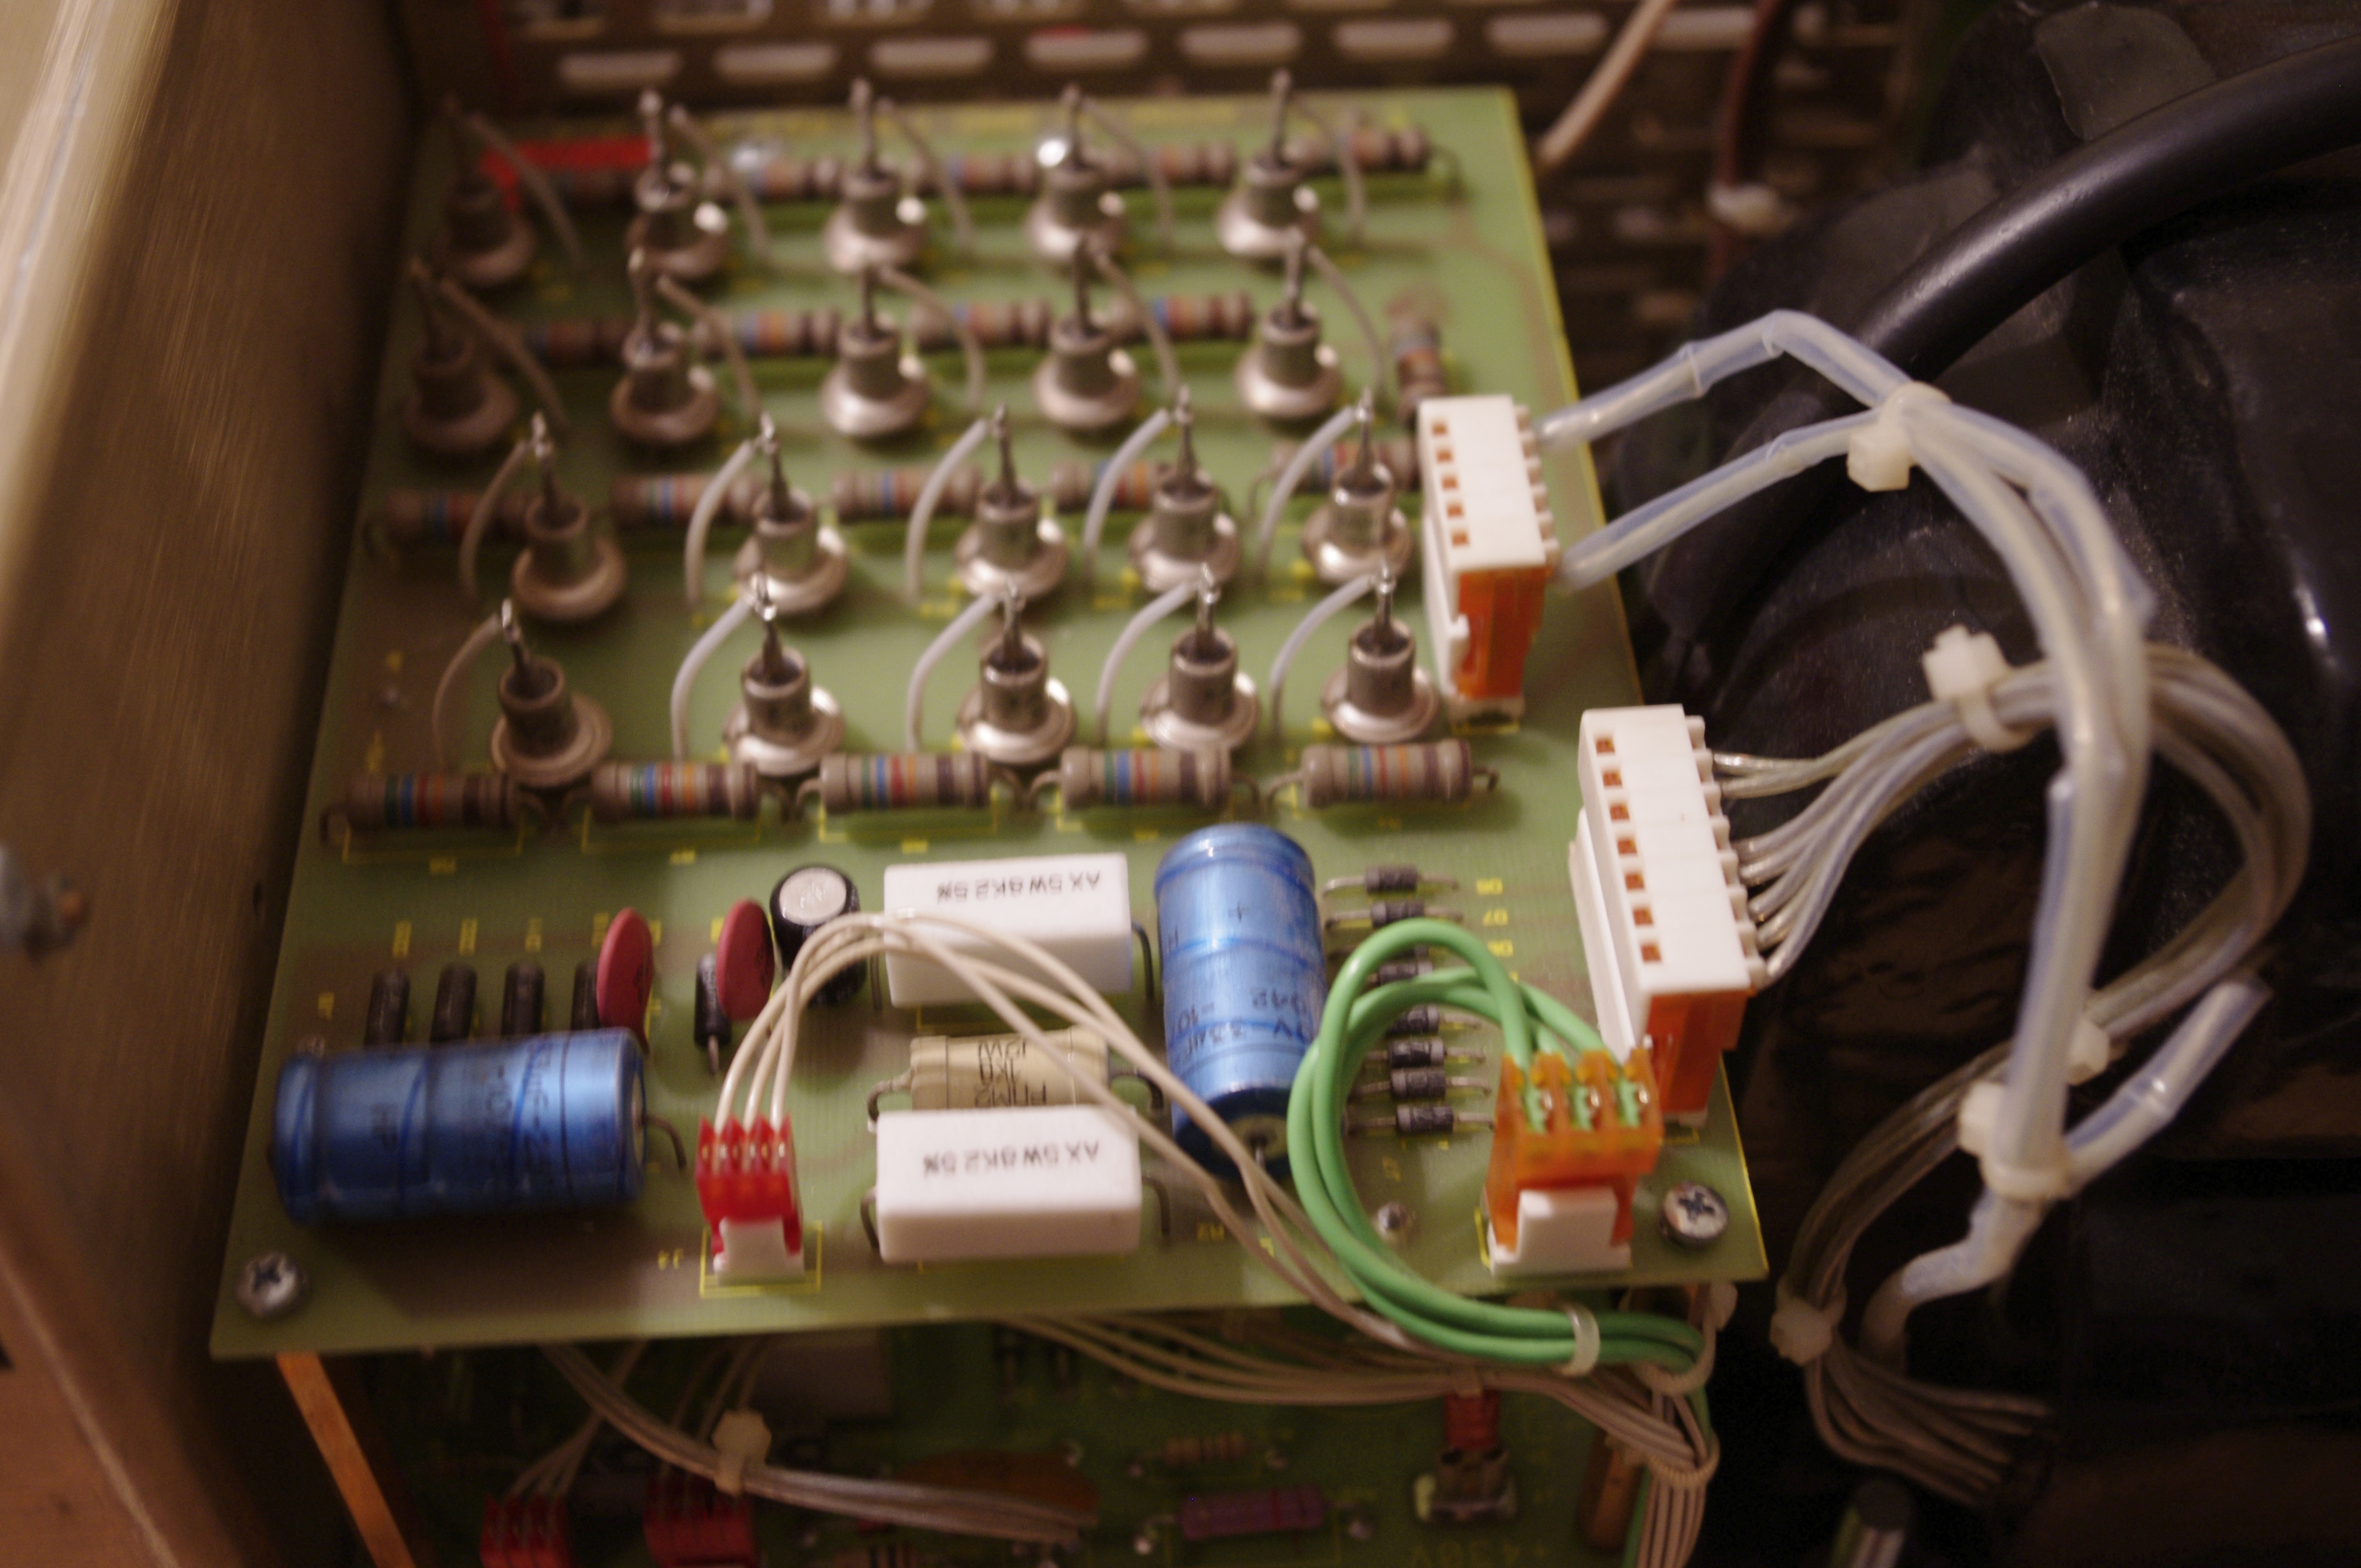
Alpha91b Power supply board without any modifications
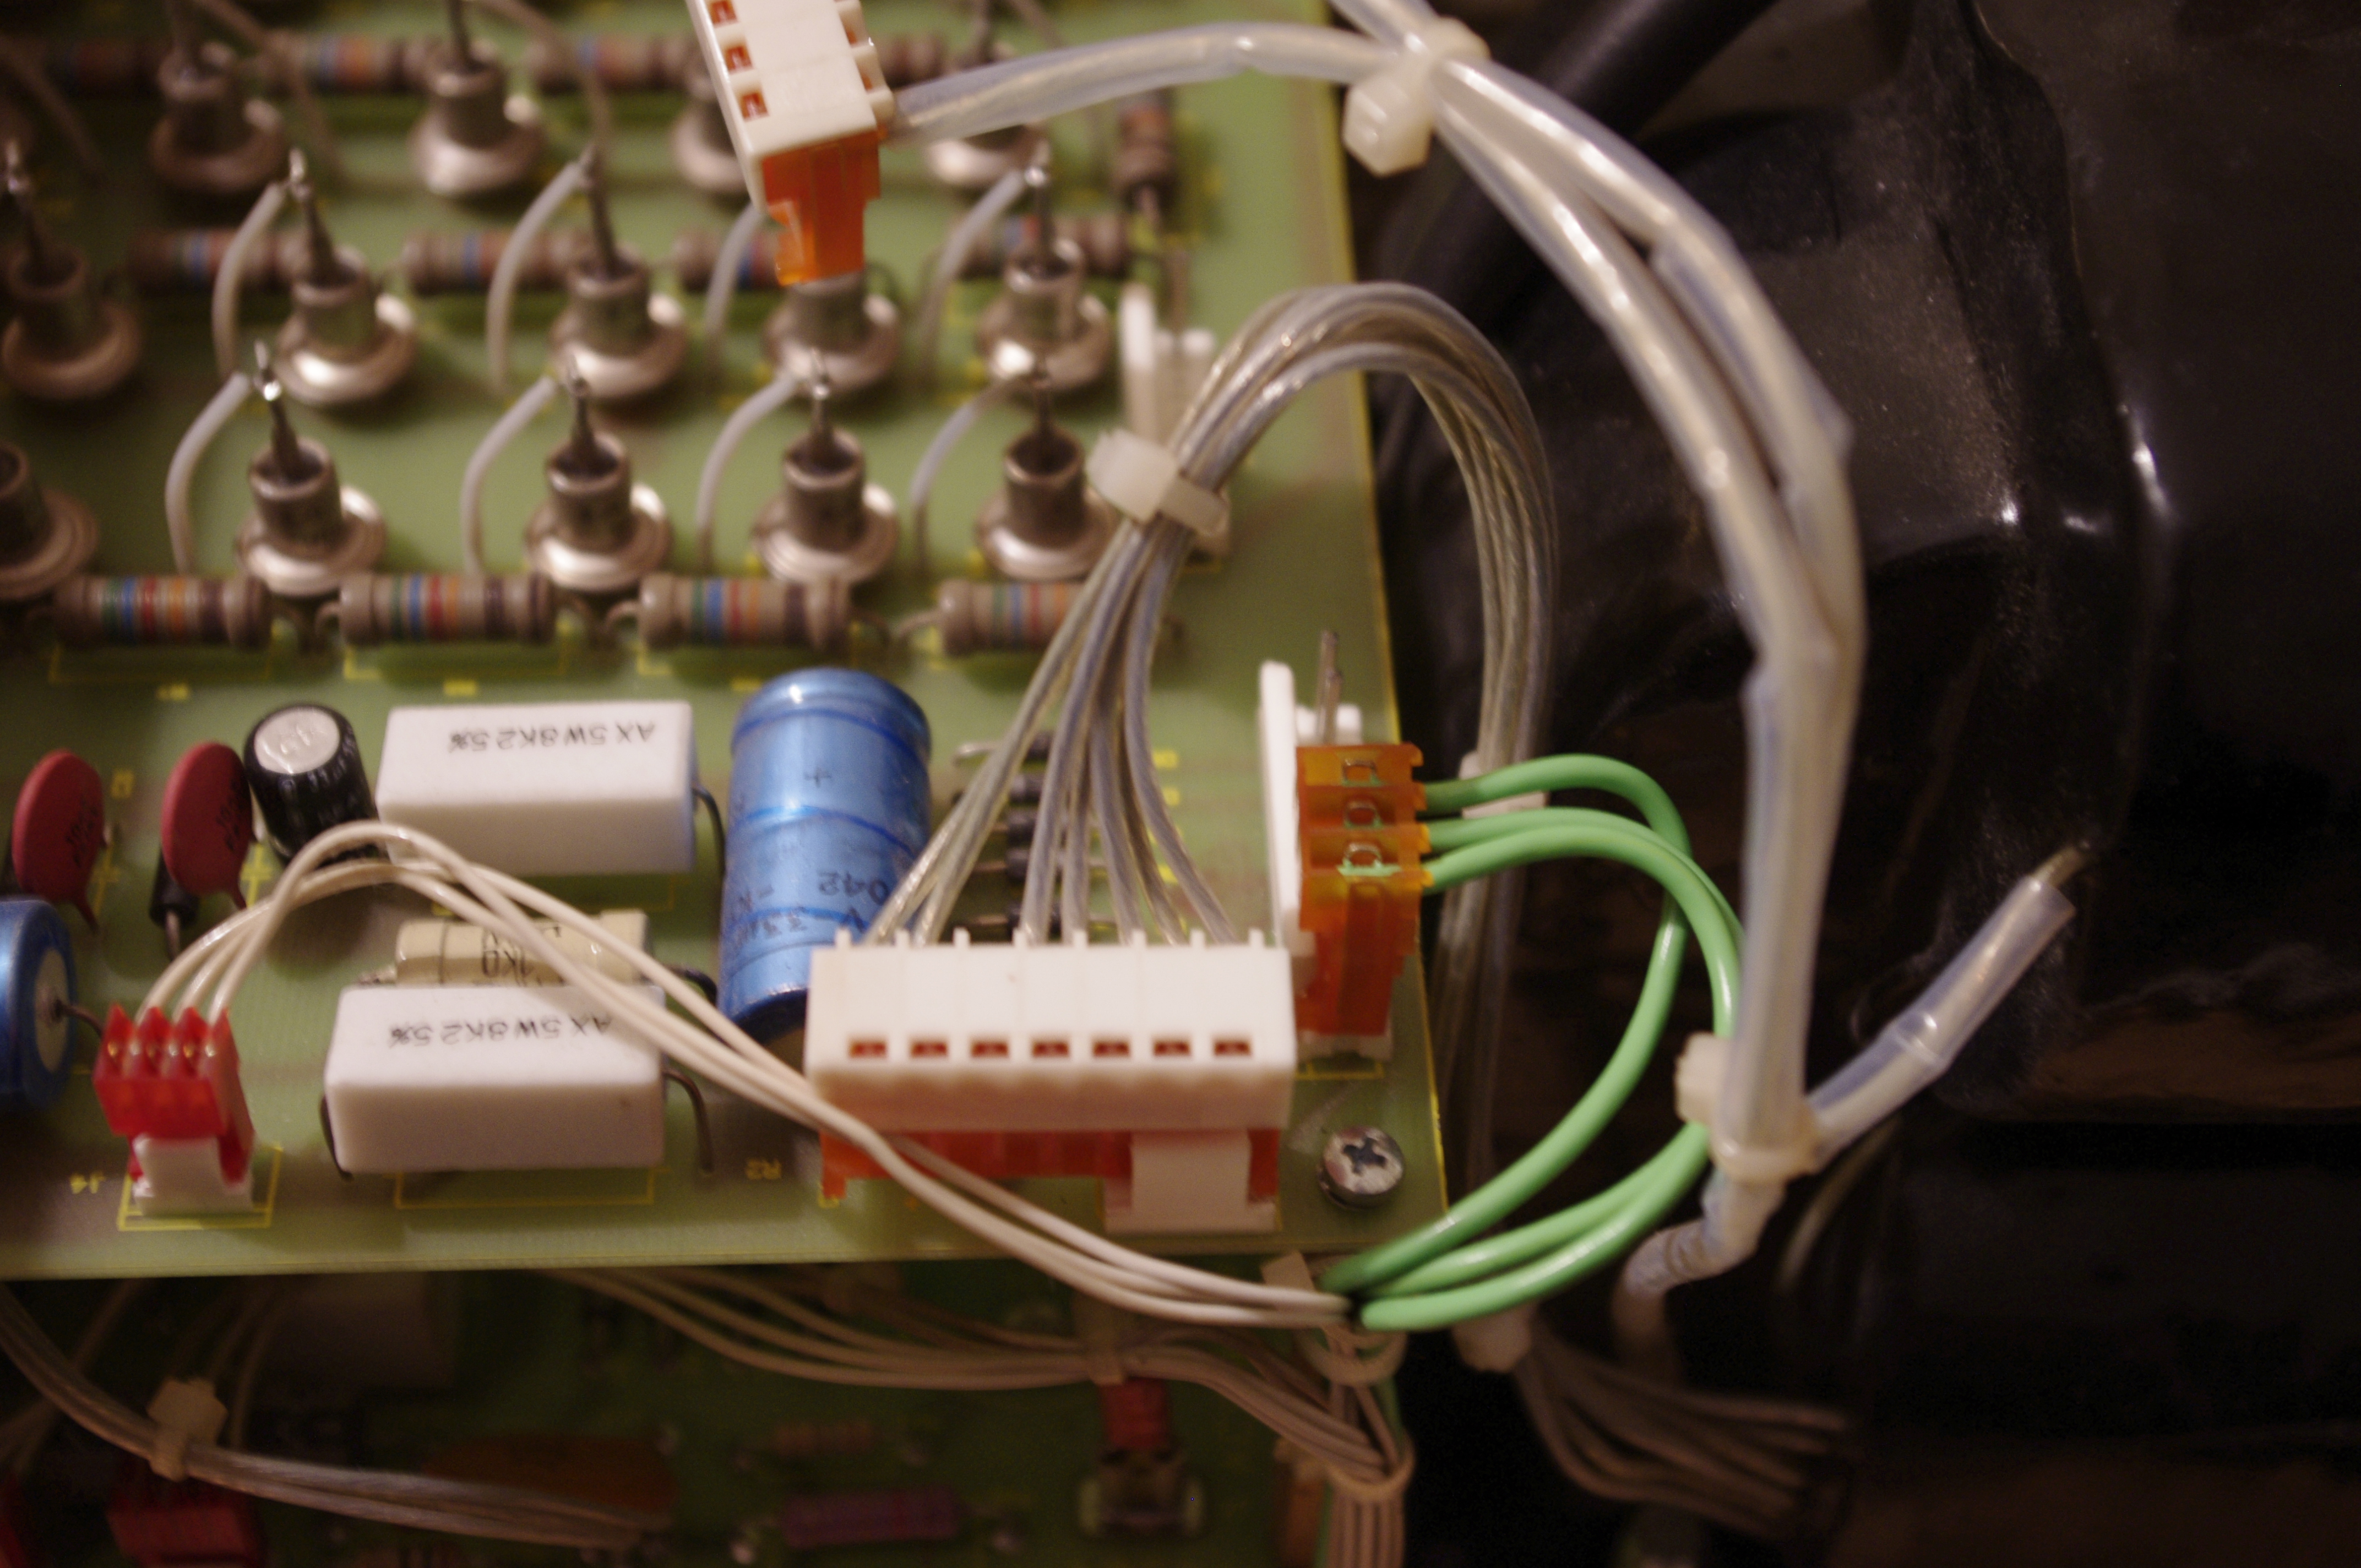
Alpha91b Power Supply board with CX5AO method to only apply heating voltage. HV connector is disconnected!
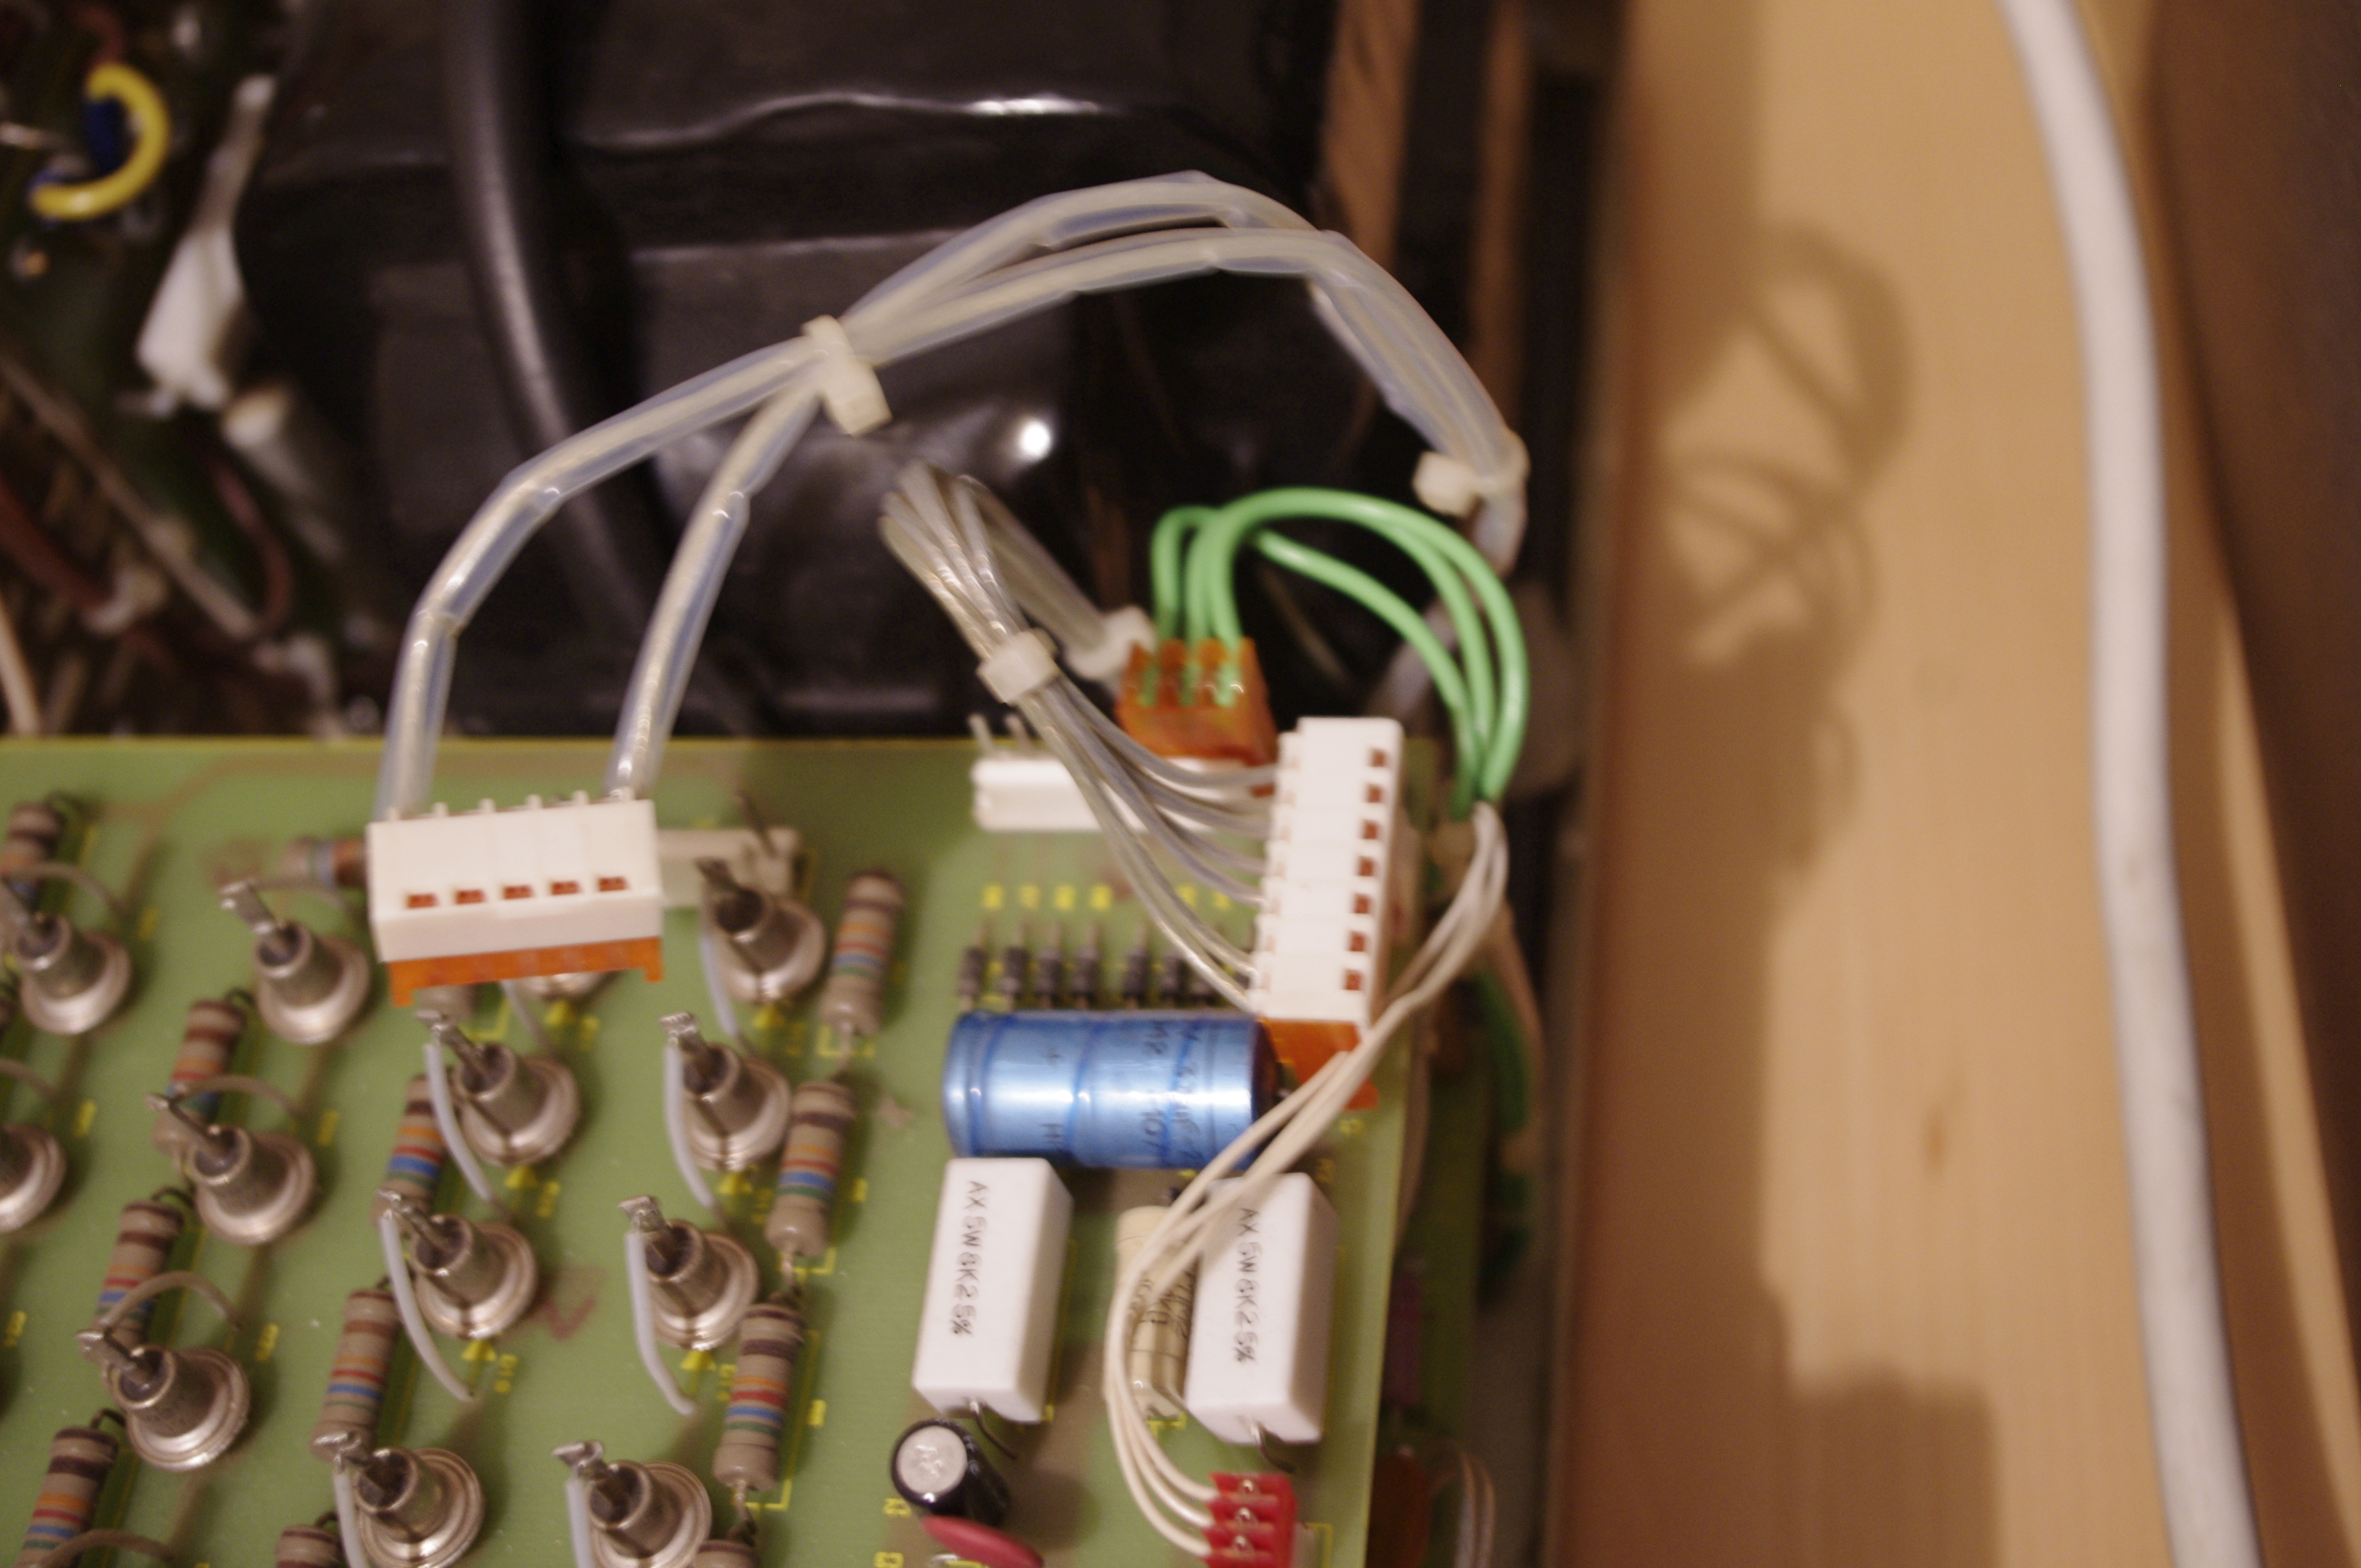
Alpha91b Power Supply Board - CX5AO method - different view
With this modification, we left the Amp for approx. 24 hours running. Since only the heating was applied, the tubes had sufficient time to condition the vacuum.
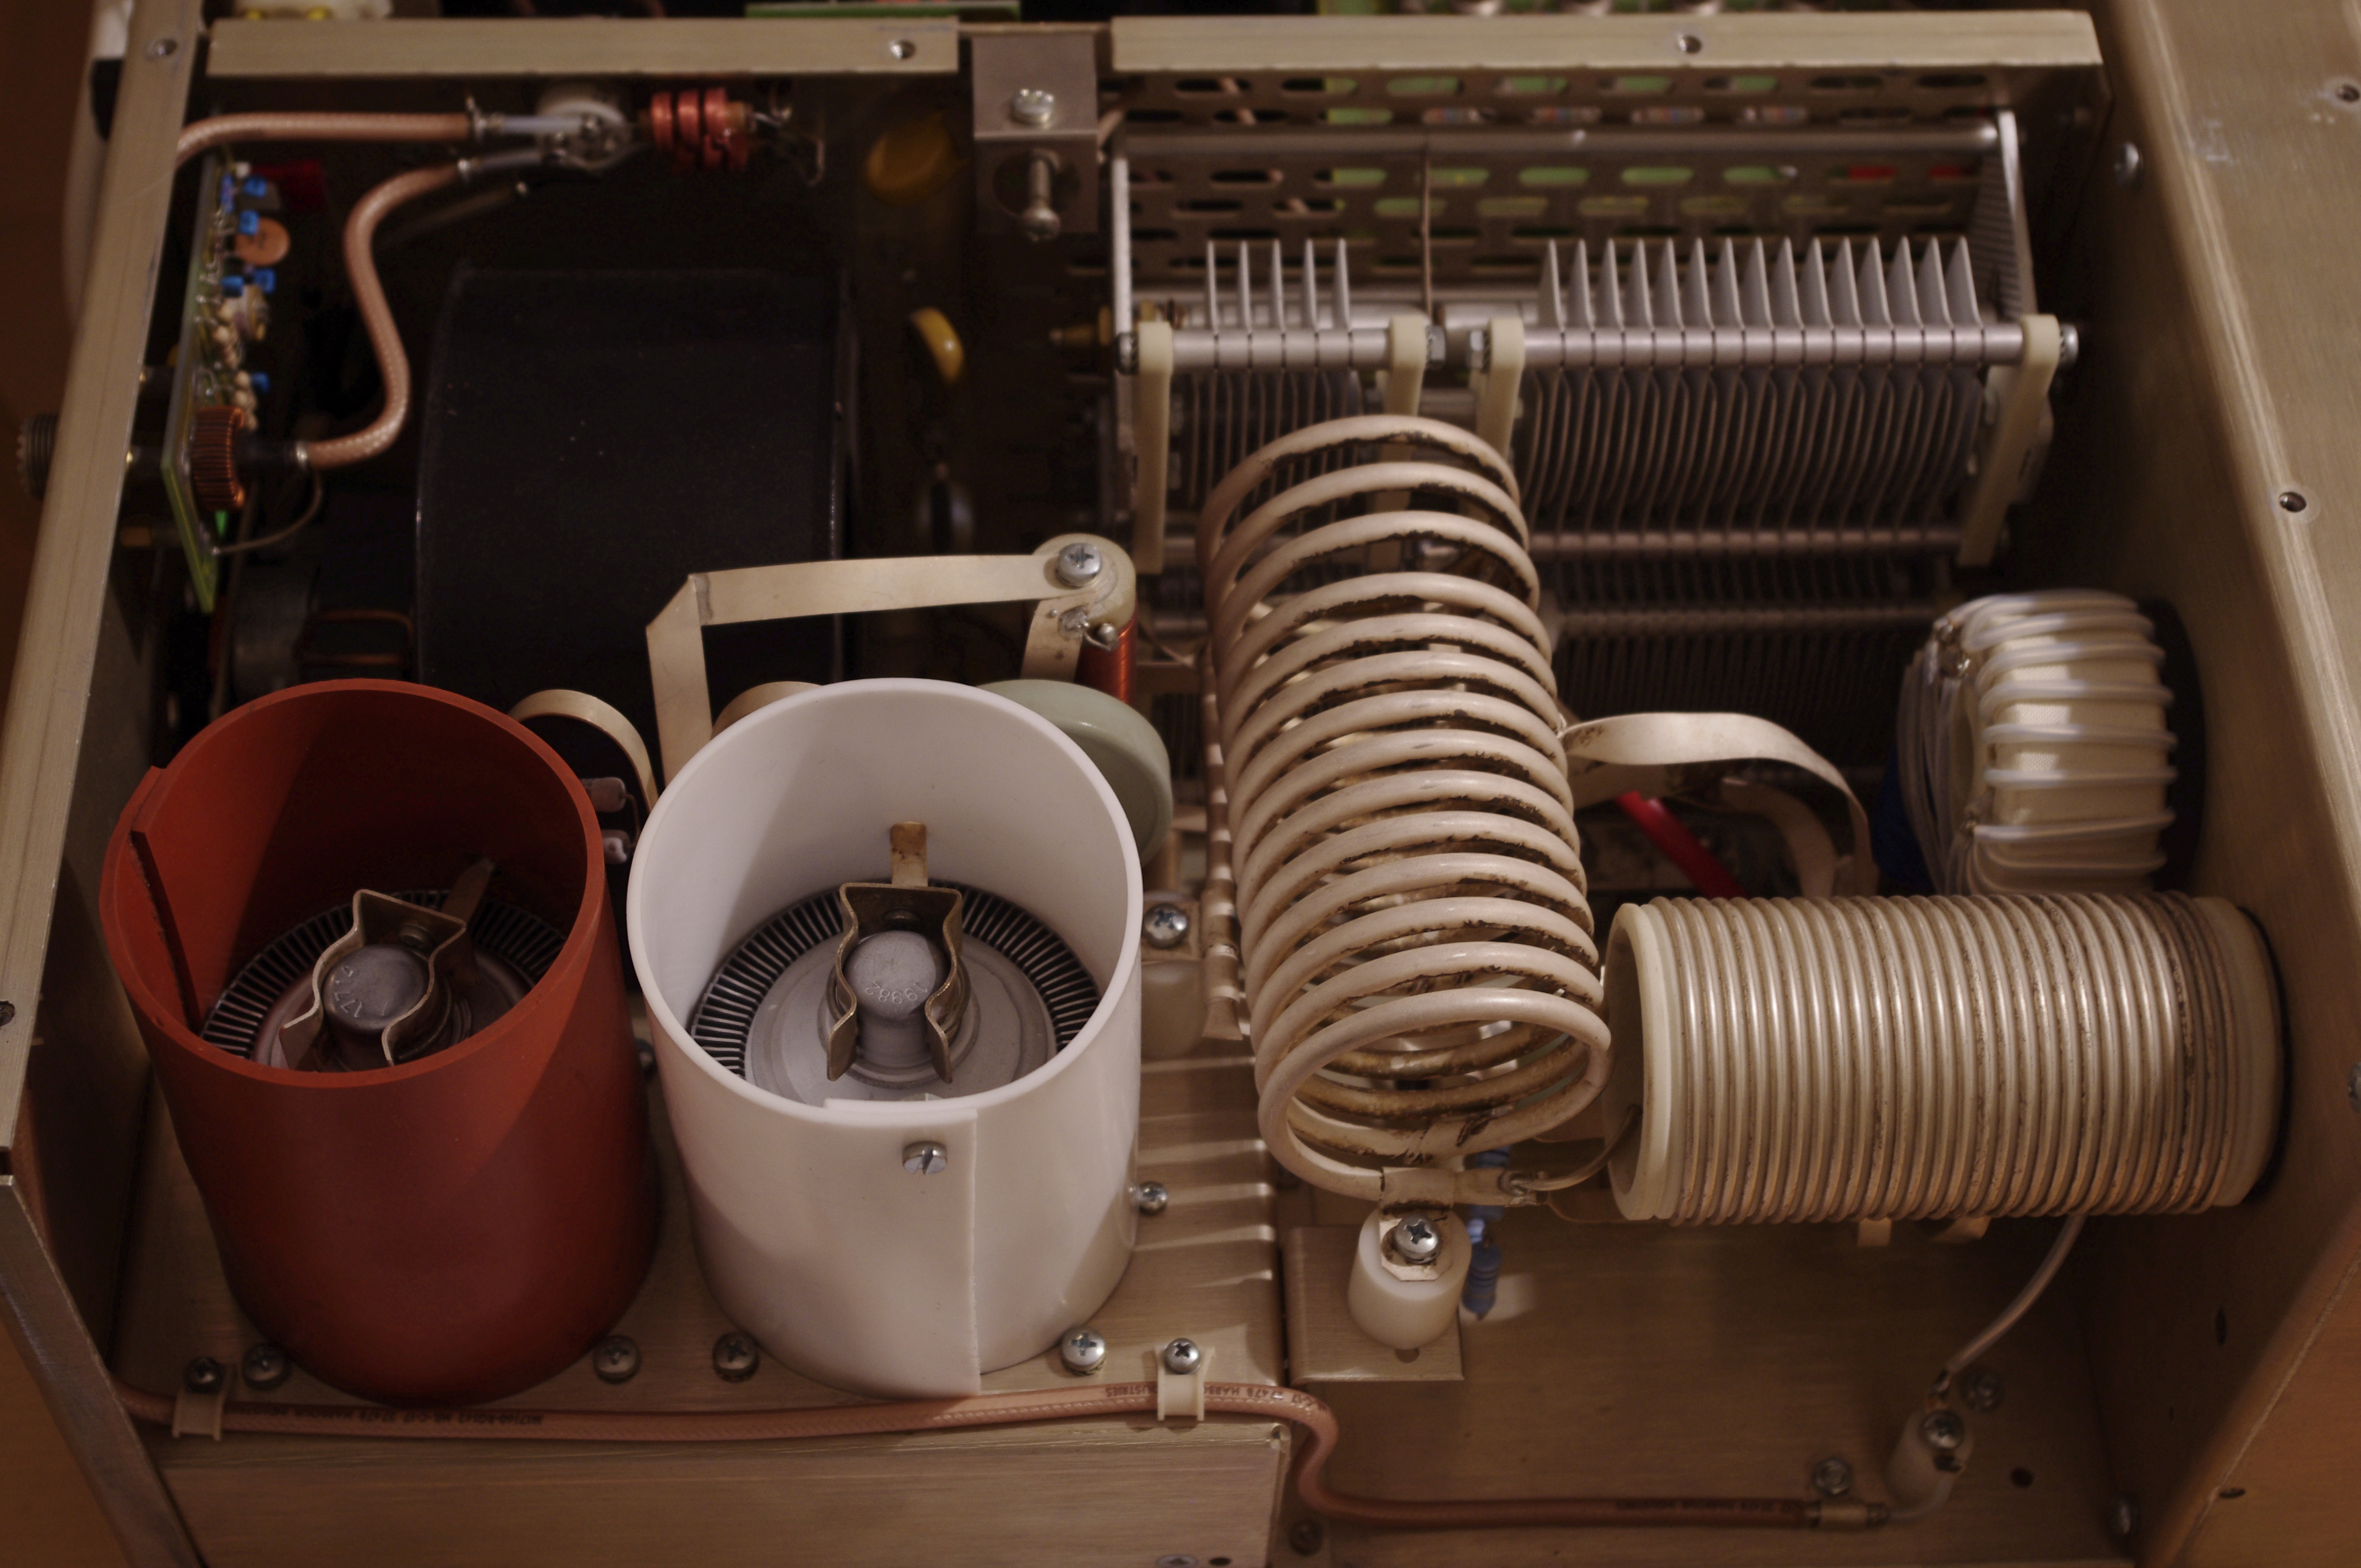
New Chimney
In the meantime, we installed a new chimney. Special thanks to Imanol, EC2DX who donated the 2mm PTFE Teflon sheet.
Applying HV & power
After sufficient gettering, we connected the Grid and HV voltages to the tube. (NEVER connected HV without the grid voltages!!) and… no big bang. After smoothly applying a few watts, the Alpha91b behaved as before. During the first 1-2 hours we drove the amplifier carefully with just a few hundred watts doing some rag chewing on the air. When the contest started the Amp was driven up to full power. Without any moaning, full 1500 watts were back on all bands.
Thanks to:
DJ5RE, CX5AO, EC2DX for their extensive help!
More resources
Another great resource (tnx DG1GLH) is the webpage of Penta Laboratories. They explain in detail how to extend the life of tubes. Do you know how the grid, the anode, or the getter in a tube looks like? If not, check out their site.